How to make a wool-filled throw pillow insert from scratch
I know you have seen those high-end designer throw pillows in your feed, and they are WOW.
Those kinds of throw pillows are next-level expensive (as in hundreds of dollars per pillow) and don’t even come with a pillow insert.
Most people think you have to spend major $$$ to get a designer look, but you can definitely do it on a smaller budget.
With basic sewing skills and a few materials, you can make the whole thing yourself–both the pillow cover and pillow insert.
The best part is you can custom make each component to your liking, including the pillow insert.
The pillow insert is often overlooked, but I have seen that the wrong filling can make even a fancy pillow cover look cheap.
Come learn how to sew a designer dupe throw pillow, starting here by making a wool-filled pillow insert.
You’ll make it from scratch with better quality materials than a store-bought version, and the filling level will be completely custom to your liking.
In this article:
-How the right pillow insert can make a pillow look and feel more expensive
-How to make a throw pillow insert
-How to stuff the pillow insert with wool
-Other materials for pillow filling
What size should the pillow insert be?
I have found that the best way to make a perfectly plump pillow is to make the insert first, then make the cover.
Whether you decide to make the cover from scratch or buy one, the instructions for making the insert are the same.
Most designer throw pillows are 20-inch square, which is a versatile size that looks good for most couches and side chairs.
Using a tape measure, a 20” square pillow measures 20 inches on one side from one seam to the other.
Like you, I have also read the many guides on choosing the right insert—as in, select an insert 1” larger than the cover, etc.
While this advice seems right, it doesn’t work for me. There’s always too much size variation between the insert and cover, and the insert doesn’t “plump” the cover up enough for my liking.
Since I want to end up with a 20-inch pillow, I add a few inches to that measurement and aim for a 23” pillow insert, plus ½” seam allowance on all sides for a total of 24”.
The advantage of making the insert yourself is being able to test the pillow out and adjust or tweak it as necessary.
Cut & Sew
Cut out two 24” squares of fabric. I chose a light colored muslin fabric that was both inexpensive and unlikely to show through the main pillow cover fabric.
If you make or buy a pillow cover that is heavily printed or dark in color, any leftover fabric from your stash will do.
With the right sides of fabric together, use a straight stitch around the perimeter of the fabric with ½” seam allowance.
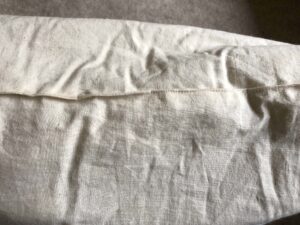
Sew three sides completely closed. On the last edge, sew 2” in from each side and leave the rest open; this opening is where the filling goes in.
With an iron, press ½” seam allowance on the remaining open edge. Turn the insert right side out.
Fill with Wool
Wool has the loft and density that makes a throw pillow look plump and luxurious. Raw wool can be purchased by the pound and is a cost effective solution.
Buy a big bag and you can make lots of throw pillows, bed pillows, dog beds, and other craft items. There might be a nearby farm with wool for sale, or you can also find it for sale online.
As you stuff the insert with wool, pull apart, separate, and “fluff” it into little tufts. This will help you to achieve maximum loft while using less material.
Once you are satisfied with the amount of filling, push it as far down into the pillow as you can. Then pin the seam closed: one pin at each edge and one pin in the middle (three pins total).
Carefully push the filling down again between the pins, then pin another row beneath the first row of pins, about 1” or 2” down. This holds the filling back as you sew the seam closed.
Sew this last edge of the insert closed, making sure to backstitch at each end. Remove the rest of the pins and “zhuzh” the pillow to adjust the filling from the outside.
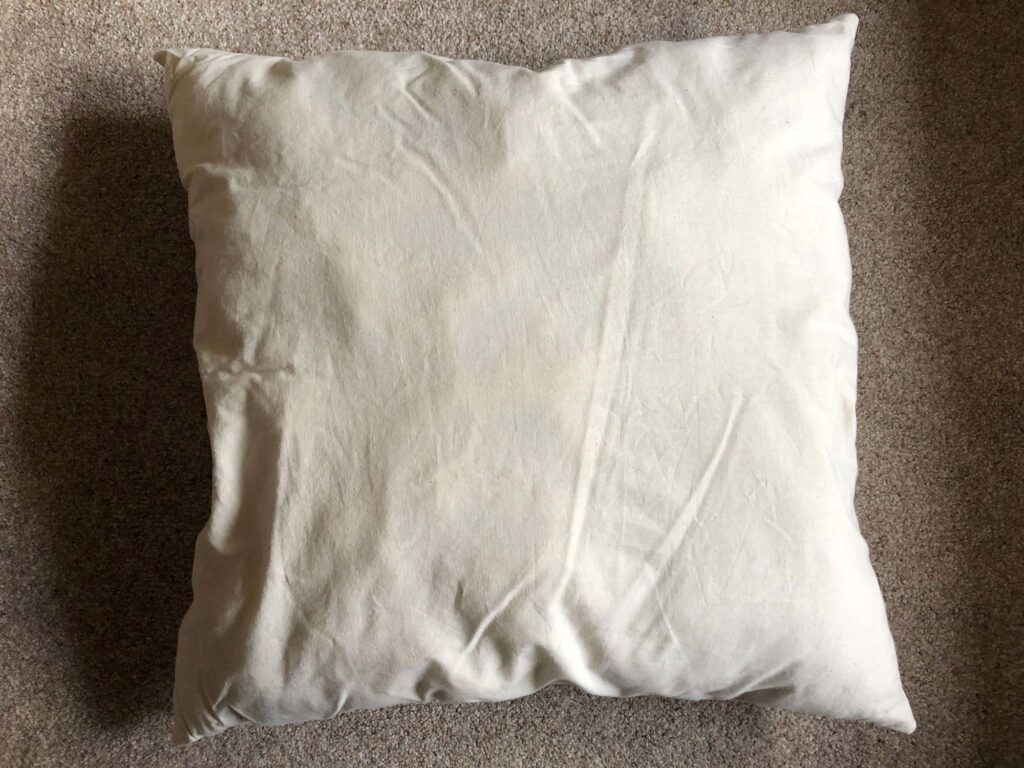
You now have a custom wool pillow insert!
Stay tuned for the next article on how to sew a pillow cover for your custom wool insert.
Other types of pillow filling
Polyester
Most generic pillows have polyester filling. It’s cheap, plentiful, and easily sourced.
You can buy ready-made polyester pillow inserts, or easily make your own with bulk filling. Fiber fill and cluster fill are some of the ones found at the local craft supply store.
While polyester is very affordable, it doesn’t hold its shape well, give much support, and doesn’t hold warmth like a natural material. It can get hot, because it’s basically plastic stuffing.
Every polyester pillow I’ve had eventually turned into a sad, flat, floppy pillow. Polyester can’t be fluffed up once it goes flat.
Feathers
At the other end of the pillow spectrum is feather filling. You’ve seen it in puffer jackets, duvets and comforters, and sleeping bags.
The feathers trap air and insulate you by preventing warmth from escaping. It comes as a blend of two parts: feather and down.
Feathers are the outer growth of geese or ducks, while down is from their undercoat. Down is a finer, lighter, and fluffier type of feather.
The most common blends are 95/5, 90/10, and 75/25. This means that it is 95% feathers to 5% down, 90% feathers to 10% down, and 75% feathers to 25% down.
The higher the percentage of feathers, the more likely you are to feel the quill or shaft of the feather sticking out through the fabric (even with a lining).
The filling is likely to be denser in feeling and heavier, and is considered lower in quality.
The higher the down content, the lighter and fluffier it will be. A pillow made mostly with down is also very, very expensive.
Feather-filled throw pillows behave and look vastly different from polyester-filled pillows. They are easily fluffable to any shape and keep that “chop” that designers seem to like.